Quick answer
A 360° product photography workflow at your receiving station means one operator shoots a full spin on a turntable with a smartphone, uploads by SKU in the Spinnify app, and the interactive viewer appears on the product page—no studio, retoucher, or per-SKU CMS gallery work. With a fixed setup corner, most teams budget about ten minutes per item after the widget is embedded once.
If you run an online store, you have probably felt this: a new batch arrives at the warehouse, but the product page still shows last season’s flat photos—or nothing at all. The old way to fix that is a long chain: book a photographer, wait for retouching, rename files, upload to the CMS, ping a developer. Days turn into weeks. This guide shows a simpler path that many teams already use at the dock.
You do not need a photo studio or a dedicated content team. You need a small corner at receiving, a turntable, a phone on a tripod, and Spinnify—the mobile app for capture and the widget for your storefront. We will walk through what this workflow is, why it helps, how it works step by step, and the mistakes beginners make most often. Everything here matches how Spinnify actually works today—no magic filters, no hidden studio fees.
What is a 360° warehouse workflow for ecommerce?
A 360° warehouse workflow is the practice of shooting an interactive product spin at the same place you receive inventory—using a turntable and smartphone—then publishing those frames to your online catalog by SKU, without hand-uploading galleries in your CMS.
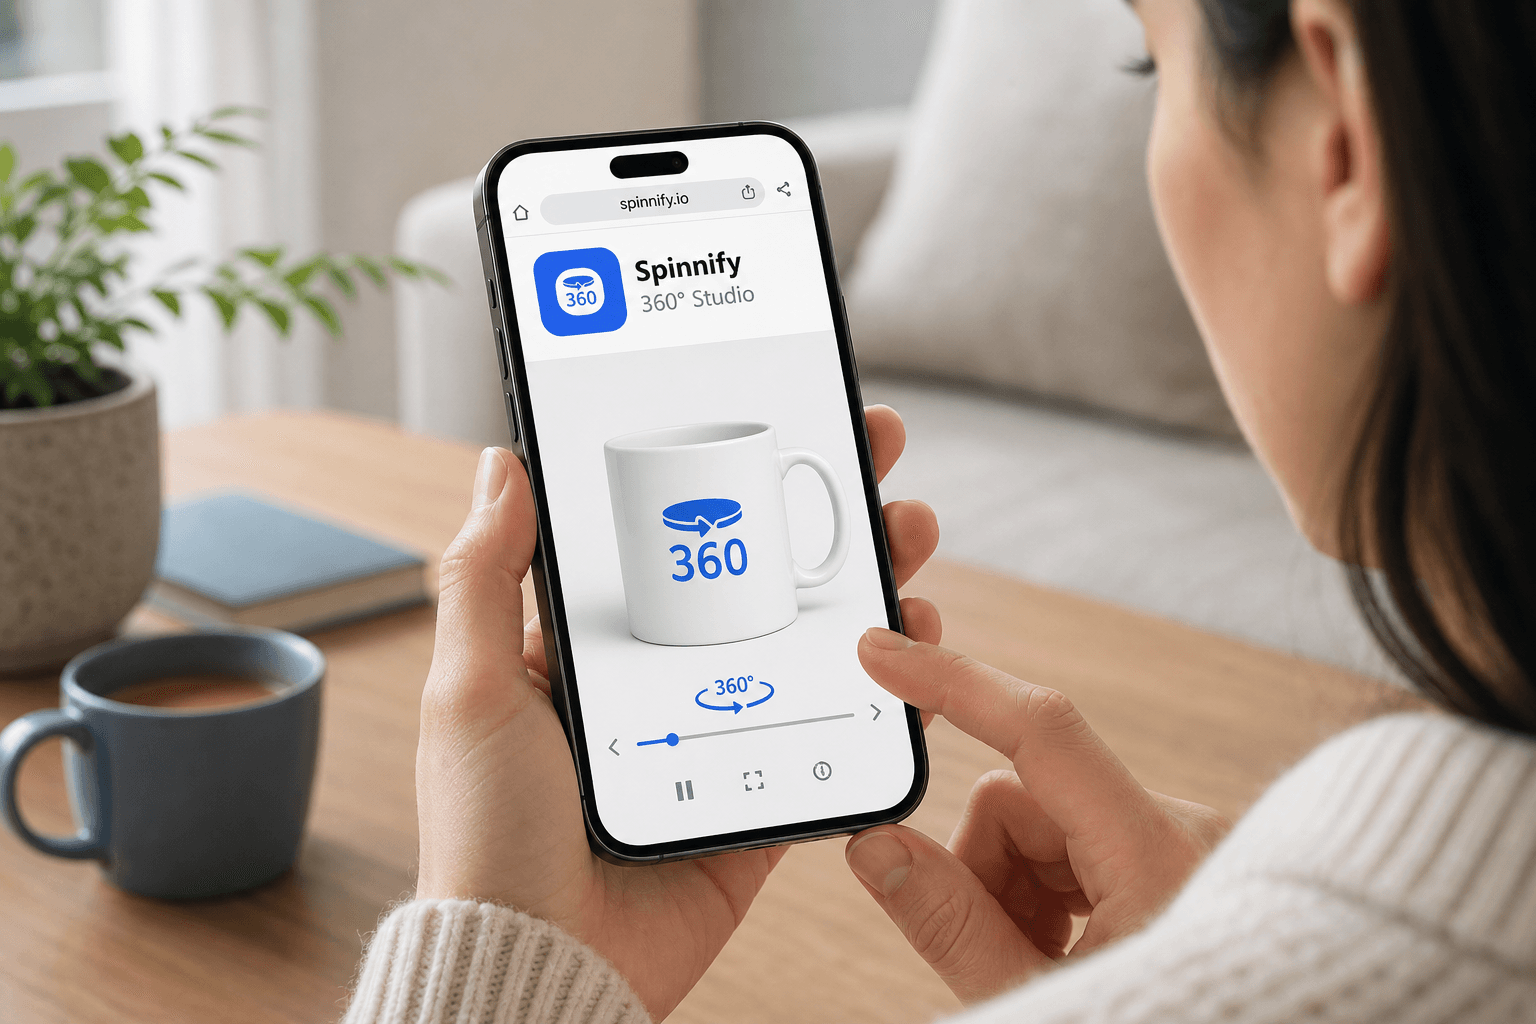
The shopper does not see a 3D model or a video file. They see real photos of the real product, taken from many angles around a full rotation. When they drag left or right on the product page, the Spinnify widget plays those frames like a flipbook. That is 360 product photography in ecommerce: honest visuals, light page weight, and a process your warehouse team can repeat all day.
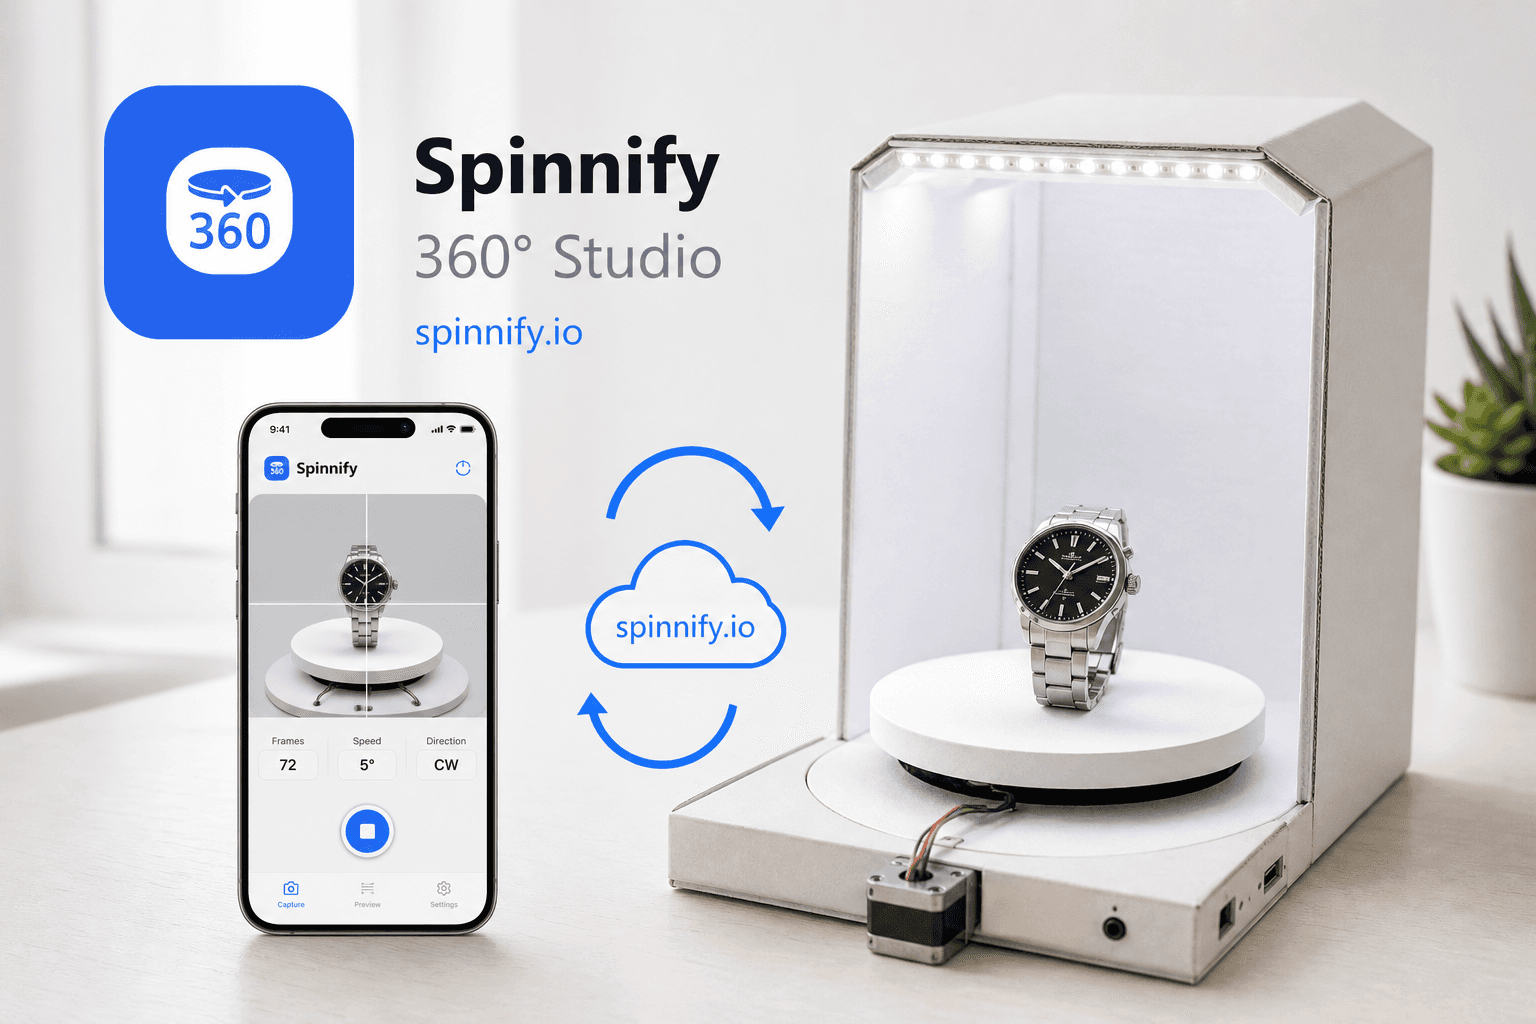
Spinnify ties the pieces together. The mobile app captures and uploads frames. Spinnify Studio stores them in the cloud. The CDN delivers optimized WebP/AVIF when someone opens the 3D control. One product name in Studio—matching your catalog SKU—links capture, storage, and the live product page.
Why this matters for your store
Static photos leave buyers guessing about size, texture, and details. Interactive 360° spins let them inspect the item the way they would in a shop. Online return rates often sit near 19% in NRF industry surveys—often because the product looked different than expected. Richer spins help when your baseline photos were thin; measure add-to-cart and returns on your own SKUs. For the psychology behind that gap, see our tangibility gap guide.
- Speed: the item can go live the same day it hits the shelf, not after a studio queue.
- Cost: predictable subscription instead of quoted studio day rates for dedicated 360° shoots (often $1,500–$3,000 per session in many markets—verify local quotes).
- Less friction: no FTP folders, no renaming IMG_4521.jpg fifty times, no broken gallery plugins.
- Returns: when the spin matches what ships, fewer “not as described” complaints—worth measuring on your catalog.
The goal is not to win a photography award. It is to give shoppers enough visual truth to click “Add to cart” with confidence—and to give your ops team a workflow they can actually sustain.
Traditional studio chain vs. receiving-station workflow
| Stage | Traditional chain | Spinnify workflow |
|---|---|---|
| Capture | Photographer + studio booking | One operator, smartphone on tripod, turntable |
| Post-production | Retoucher, RAW batch, export | Even lighting + locked exposure at shoot; WebP on upload |
| Catalog | CMS/FTP folder per SKU | Mobile upload keyed to Studio product name = SKU |
| Storefront | Developer wires gallery per product | One-time widget.js embed; SKU / AUTO / URL binding |
How the Spinnify 360° workflow works
Think of four moments: set up once, open the right SKU, shoot a full rotation, upload. Technical extras—hotspots, widget styling, billing—live in the web dashboard, not on the warehouse floor. That keeps the daily job simple for line staff.
One-time setup: your 360° corner
You are building a tiny repeatable studio, not renting a loft. Most teams use a sturdy table, a manual or motorized turntable with marked degree steps, a smartphone tripod at the product’s midline, and two inexpensive LED panels at roughly 45°. A white or gray backdrop is enough; constant light beats flash because you want the same brightness in every frame.
- Mark the turntable steps so every operator turns the same amount between shots.
- Write down tripod height and light positions on a laminated card—future you will thank you.
- Test one SKU slowly before you rush a full inbound batch.
SKU first—before the first frame
This step prevents 90% of “why is my spin missing on the site?” tickets. In Spinnify Studio, create a product whose name matches your catalog SKU exactly (case does not matter). Only then open the Spinnify mobile app, sign in with the same email and password as the website, type that SKU on the home screen, and open the card. The app attaches every frame to that cloud folder automatically.
Shoot a smooth spin in one pass
Shoppers judge quality in two swipes. If frames flicker or the product jumps, trust drops—even when the item itself is fine. A smooth 360° spin is simply 24–36 evenly lit photos around the turntable, captured in the Spinnify app.
Lock exposure, ISO, white balance, and focus once in manual or pro mode before you start. On a dialed-in corner that takes a few seconds and removes the main cause of flicker during playback.
- Desktop series (PC photos, 4:3): the main spin on the product page. Turn the table in equal steps—burst every 0.5–2 s or one shot per mark. Up to 36 frames per full rotation.
- Phone series (Mobile photos, 3:4): optional second pass for mobile layouts. Keep the same lights and do not move the set.
- Scrub the loop in the app before teardown. Twenty-four steady frames beat thirty-six shaky ones.
From upload to the live 3D button
Happy with the loop? Tap Upload. The phone compresses frames to WebP and sends them to your Spinnify project—the same workspace you open at spinnify.io in the browser.
Spinnify does not reshoot or retouch for you. There is no auto-crop or color grading in the cloud. The service stores your frames and delivers light variants (resize, WebP/AVIF) when a shopper taps 3D.
After upload, the spin is ready on the storefront right away—new Studio products are Active by default. Embed the widget once (script or Shopify block). Each SKU matches by article code, AUTO JSON-LD, or page URL. No developer per item. The player loads on interaction, so the product page stays fast.

Your first product in about ten minutes
The first SKU always feels slower—you are learning the corner and the app. That is normal. Spinnify 360° Studio is built so the tenth item follows the same rhythm: one operator, one checklist, live on the storefront without a studio handoff.
In practice, ten minutes means: open the right product in the service, shoot one clean rotation, upload, and confirm the 3D control on a live product page.
- 1. In Spinnify Studio, create the product card (name = your catalog SKU) so uploads land in the right place.
- 2. Sign in to the mobile app with the same account and open that SKU.
- 3. Lock camera settings once; center the item on the turntable.
- 4. Shoot the desktop series (PC photos, 4:3)—burst or step-by-step, 24–36 frames.
- 5. Optional: shoot Mobile photos (3:4) if mobile traffic matters—same lights, same set.
- 6. Scrub the preview. Re-shoot if the product jumps or light flickers.
- 7. Upload from the app—the spin goes live once the widget is on your site (products are Active by default).
- 8. Open the live product page and confirm the 3D control (SKU match or AUTO mode).
After a few shifts the steps blend together. That is the point: a repeatable warehouse line, not a one-off photoshoot.
Mistakes teams hit once—then never again
Most issues are not about skill. They are about order: SKU first, steady setup second, publish third. Here is what support tickets usually trace back to.
- Shooting before the Studio card exists—or under the wrong name. Frames upload, but the storefront cannot find them. Create the SKU in the service first.
- Holding the phone by hand. The product drifts frame to frame. A tripod fixes it.
- Leaving auto exposure on. Brightness jumps between shots. Lock settings once per session.
- Waiting for cloud retouching. Spinnify is a delivery service for your shoot—it does not reframe or color-grade. Light and centering happen at the table.
- Product turned off in Studio. New items are Active by default; if someone disabled one, the spin will not show until you turn it back on.
- Expecting IT on every new SKU. Embed the widget once; warehouse only shoots and uploads after that.
What changes for your team and budget
Roles shrink from four handoffs to one trained operator plus a one-time integration. Spin frames live on Spinnify’s CDN, not your shop server—so your CMS team stops maintaining parallel galleries for 360°. Subscription cost is easier to forecast than studio day rates or surprise bandwidth bills.
Track a few numbers honestly: minutes per SKU in production, add-to-cart on SKUs with vs. without 3D, return reasons that mention “looked different,” and time-to-live from goods-in to published spin. Use them to justify scaling the corner to more categories—not as vanity metrics.
Conclusion
Ecommerce 360 photography does not have to mean outsourcing every SKU to a studio. With a product photography turntable, a phone, and Spinnify, your receiving station becomes a content line: shoot by SKU, upload once, let the widget do the rest. Start with one category, nail the checklist, then grow. For shoot quality details—tripod height, exposure, frame count—see our DIY smartphone guide linked below.
Related: DIY smartphone 360° guide, tangibility gap and conversion. Integration guide.