Quick answer
Smartphone 360° is not 3D or a photo studio: turntable, tripod, locked exposure, 24–36 frames, Spinnify mobile app. SKU in Studio before shooting. Landscape 4:3 + optional portrait 3:4. QC before teardown—about 10 minutes per product.
When store owners hear "interactive 360° photography," they usually picture the same thing: an expensive white studio, a pro with a huge camera, complex software, and a hefty invoice to process a dozen SKUs.
It is 2026. You no longer need a cosmic budget to let shoppers rotate a product on screen. Smartphone cameras deliver excellent detail, and cloud platforms handle assembly.
You can shoot a quality interactive spin on a shoestring: an ordinary phone, a cheap turntable, and a bit of care. Here is a step-by-step guide to nail it on the first try and skip rookie mistakes.
What interactive 360° photography actually is
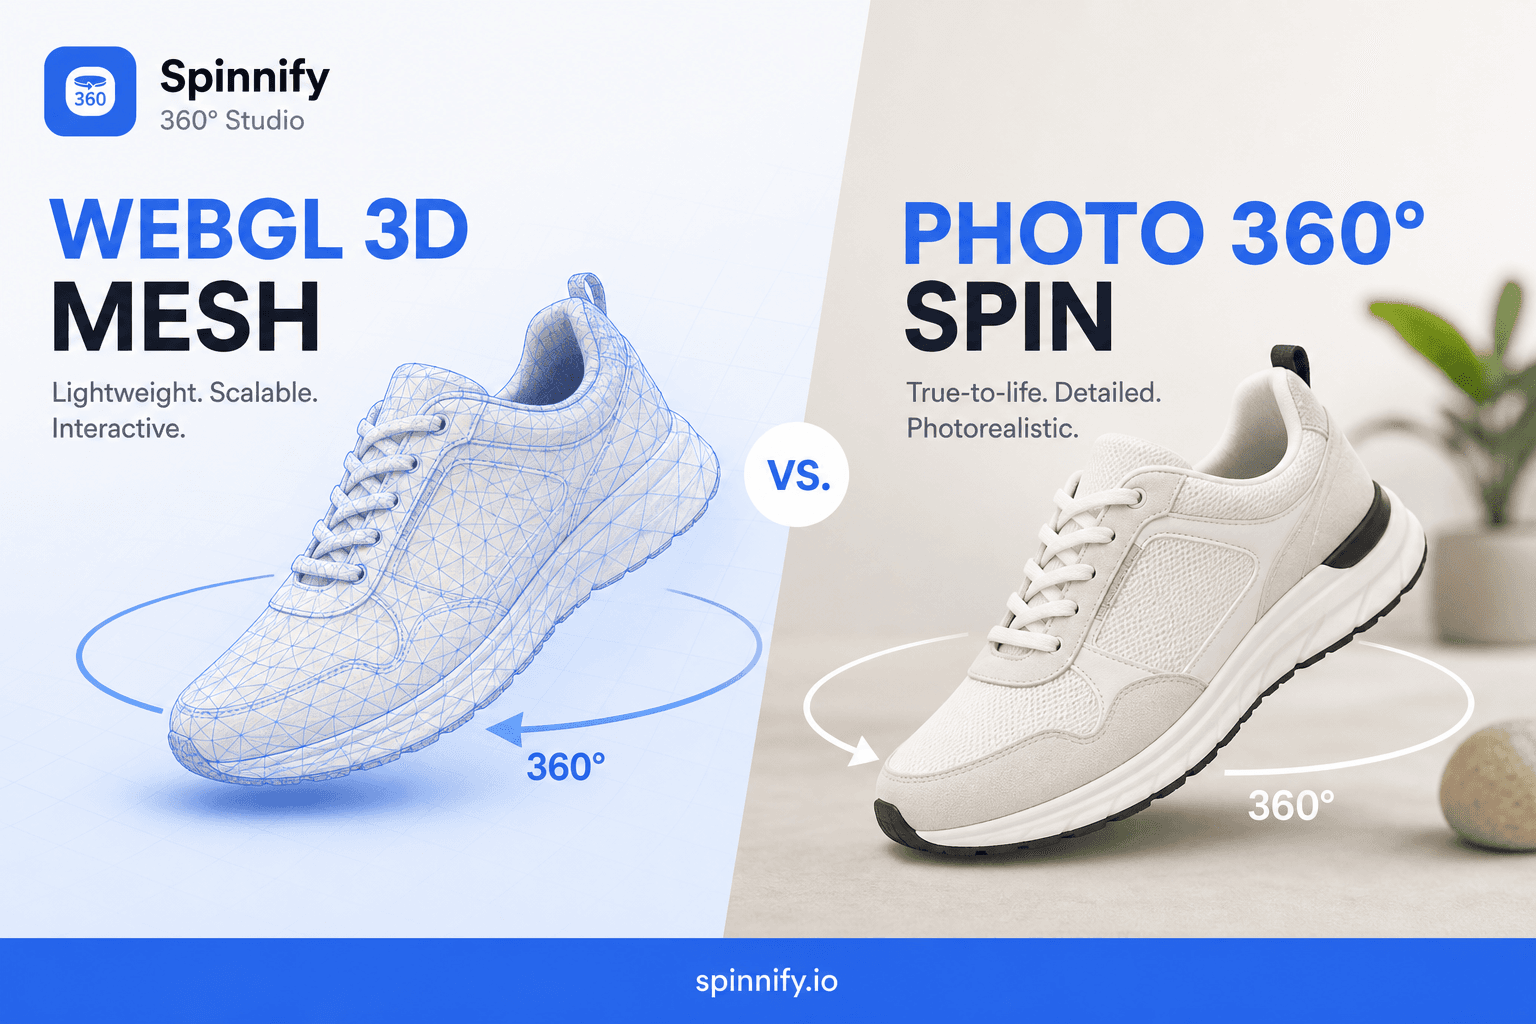
First, clarity: interactive 360° is not 3D modeling. You do not draw the product in WebGL or CAD or invent synthetic textures.
You place the real physical product on a rotating platform and shoot a series of ordinary photos from different angles as it turns. A player (for example, the Spinnify widget) chains those frames—when the buyer swipes, photos scroll forward or back.
- It is honest. The browser shows the same item—with real seams and textures—that arrives in the box.
- It is fast. No weeks of designer revisions. Shoot, upload, done.
Step 0. Start with the name (the automation secret)
The most common rookie mistake: shoot the product, tear down the set, then panic about how to upload. Modern systems run on SKU automation.
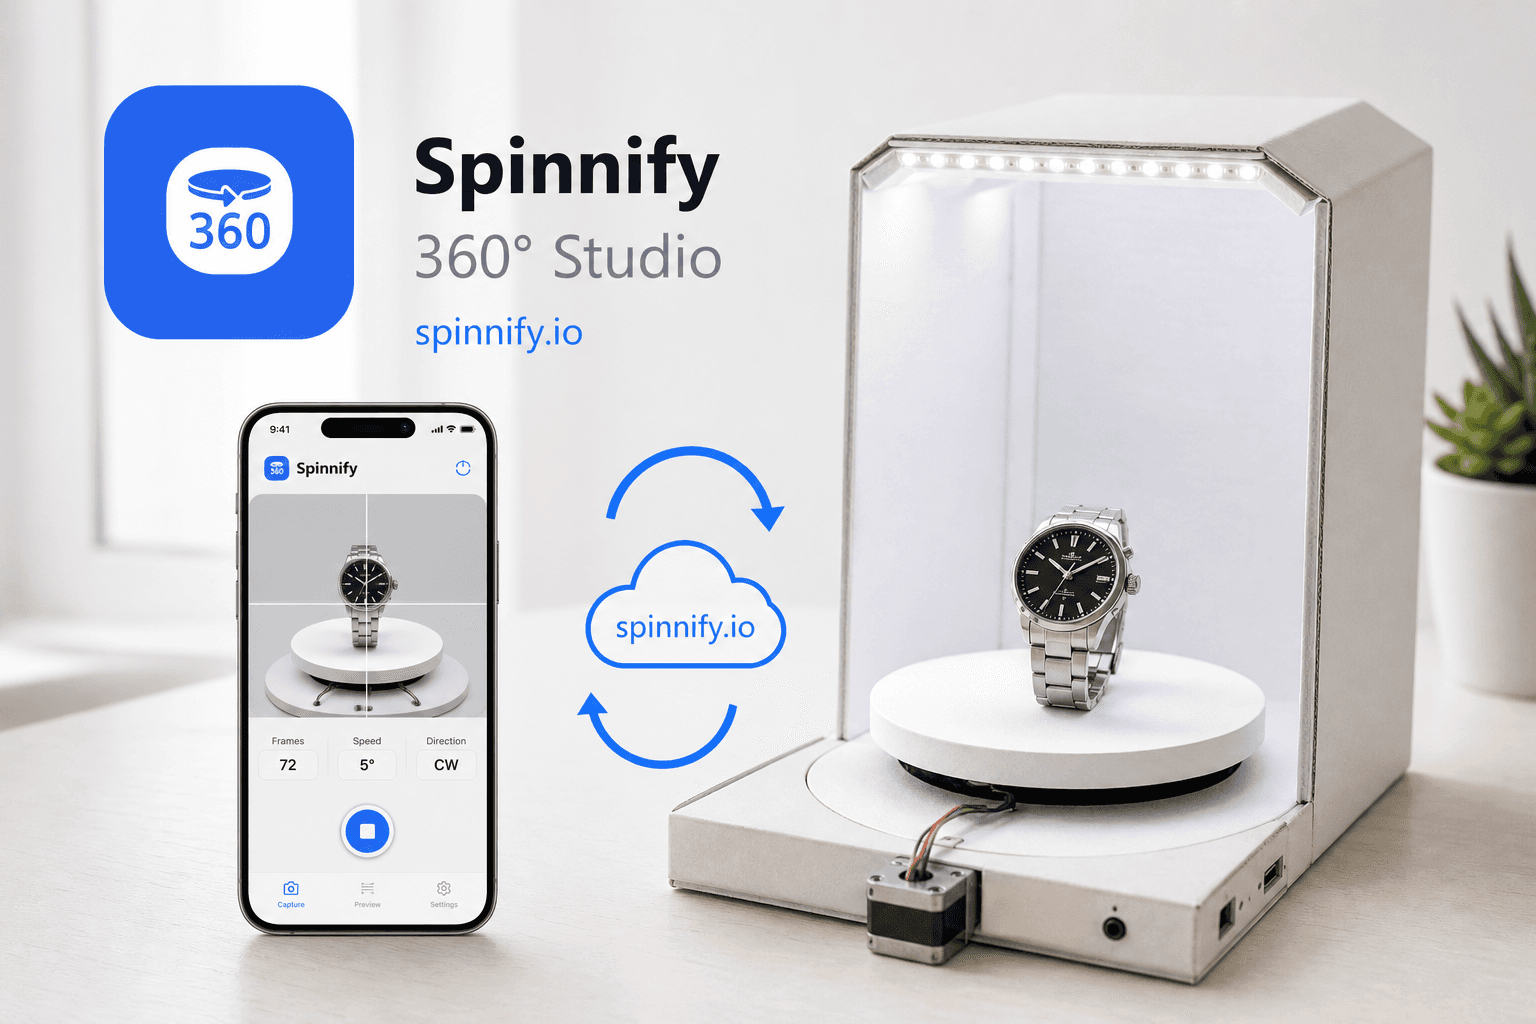
Before the first frame, open Spinnify Studio and create a product card. Name it exactly as in your inventory or Shopify catalog (for example, variant_sku).
When you open the Spinnify mobile app to shoot, it knows which product the frames belong to. Uploads land in the right cloud folder and the spin publishes to the correct page—no manual mix-ups.
Step 1. Build the ideal workspace
You do not need a pro studio. A quiet corner and five simple pieces are enough:
- Turntable. Any manual round platform. Mark equal steps—masking tape or a school protractor under the plate.
- Neutral backdrop. White or gray seamless paper without seams. Gray helps glossy items and jewelry—fewer harsh hot spots.
- Phone on a tripod. Rigid support at the product’s vertical center. Hand-held shooting shifts the camera—the product jumps on screen.
- Light. Two ordinary LED lamps left and right at ~45° to the product. Do not mix window light and lamps—mixed color on frames.
- Remote or timer. Two-second timer or Bluetooth remote so the camera does not shake on shutter.
Step 2. Camera spell: turn on manual mode
In auto mode the phone’s AI will ruin the series: brighter background on one frame, different white balance on another, blurred background on a third. The finished spin flickers.
Open camera settings (Pro or Manual) and lock three parameters:
- Exposure and ISO—no crushed shadows or blown highlights on the product.
- White balance (WB)—same product color on every frame.
- Focus—on the center of the item, then lock it.
Forget digital zoom. Move the tripod closer instead. Digital zoom adds scale jitter you cannot fix later.
Step 3. The shoot (turntable magic)
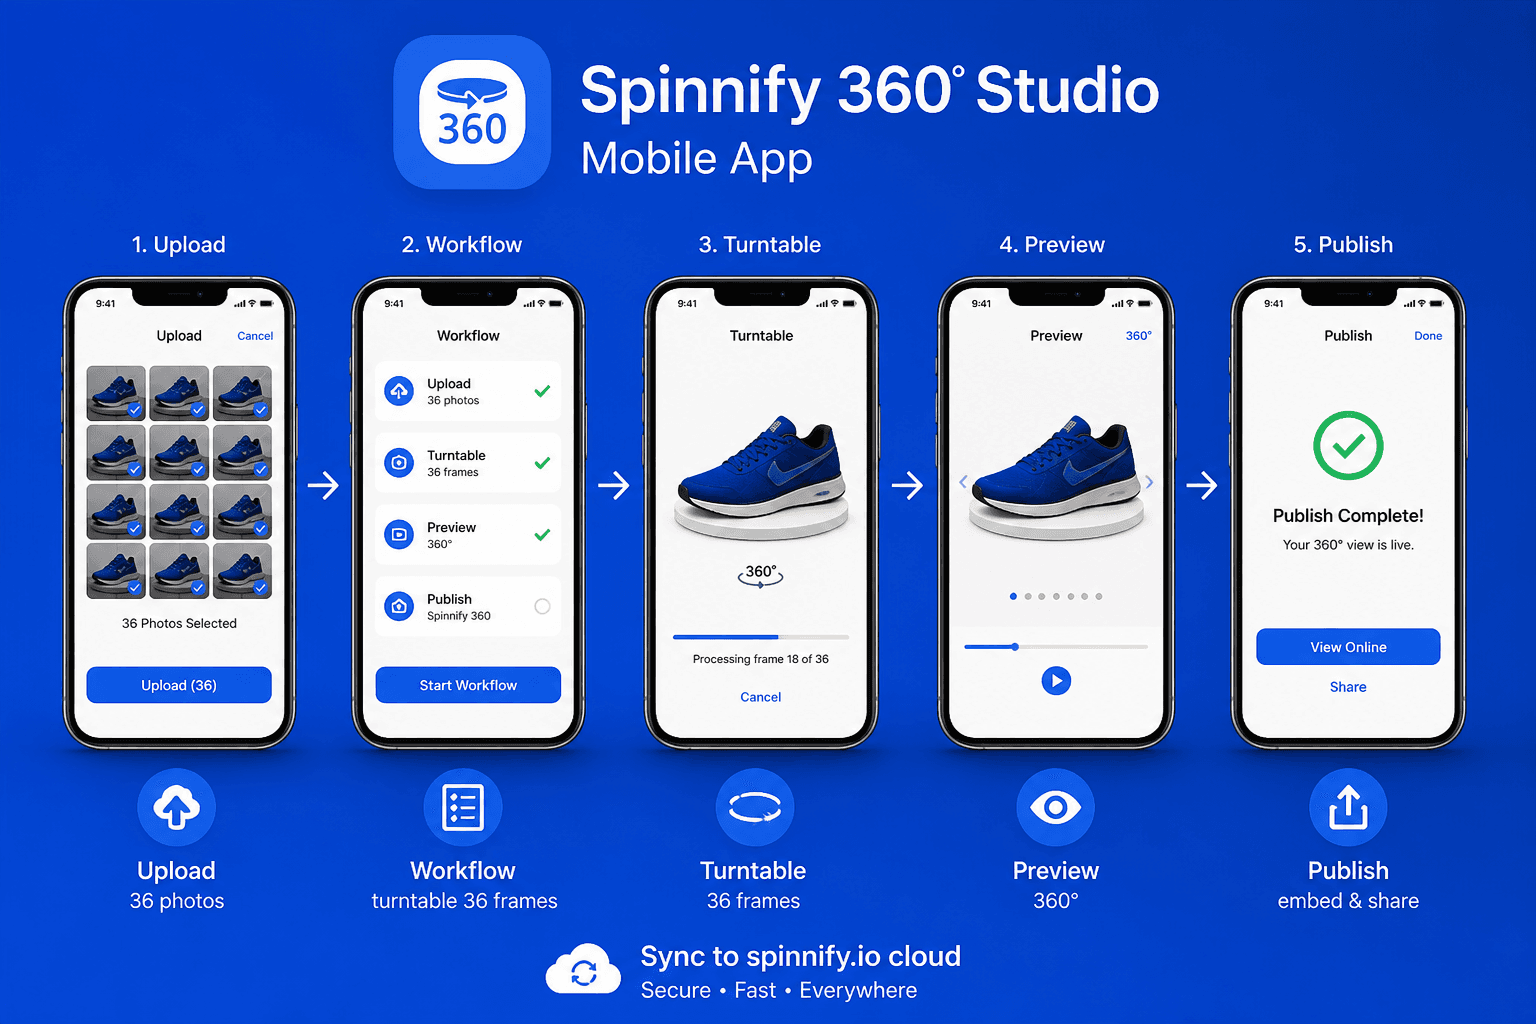
For smooth rotation on site, 24–36 frames per full 360° turn is enough.
Open the Spinnify mobile app, select the Step 0 product, and begin:
- Rotate the table one mark (e.g. 10°).
- Hands away, wait a second for wobble to stop, fire the shutter.
- Repeat. One step, one frame.
Shoot in landscape (4:3)—the default for desktops and tablets.
Pro tip: with heavy mobile traffic (apparel, bags, footwear), after the landscape pass shoot a second loop in portrait (3:4). Spinnify serves a full-screen vertical spin on phones without side bars. Do not change lighting between the two passes.
Step 4. Quality control before you tear down
Do not remove the product from the table right after the last frame. Open the app and scrub the loop forward and back.
Check critically:
- Does the product jump side to side? (The table moved during shooting.)
- Does the light flicker?
- Any finger or lamp cable in frame?
If one or two frames fail, re-shoot the full series (about 90 seconds)—do not splice different passes. A clean 24-frame spin beats an uneven 36.
Final: one-click publish
Test passed—tap Upload in the app. Frames go to the server; the system converts to WebP and compresses for fast delivery.
On desktop Studio, add hotspots on key details if helpful and set status to Active. The storefront widget—Shopify, WooCommerce, or Tilda—picks up the spin instantly by SKU match.
Interactive content is not magic for the chosen few—it is a clear discipline. Shoot your first product with this guide: the whole process takes under 10 minutes, and the PDP looks like an expensive production team touched it.
Compare with WebGL: WebGL vs photo 360°. Full integration guide.