Quick answer
To add a 360 product view to Shopify: publish a spin in Spinnify Studio under the same name as your variant SKU, install the Spinnify Shopify app, connect the store in Settings → Integrations, add the Spinnify 3D Button block on your product template, and test on a live product URL. The widget loads on shopper tap so PageSpeed stays healthy.
Shopify merchants search for “360 product viewer shopify” when flat gallery photos are not enough—but they also hit practical questions first: what image size does Shopify expect, and will another script slow the theme? This guide answers both. You will see recommended Shopify product image dimensions for your stills, how Spinnify adds a 360° layer without re-uploading frames into Shopify Files, and the exact match-field + theme-block flow we ship today.
What is a 360 product view on Shopify?
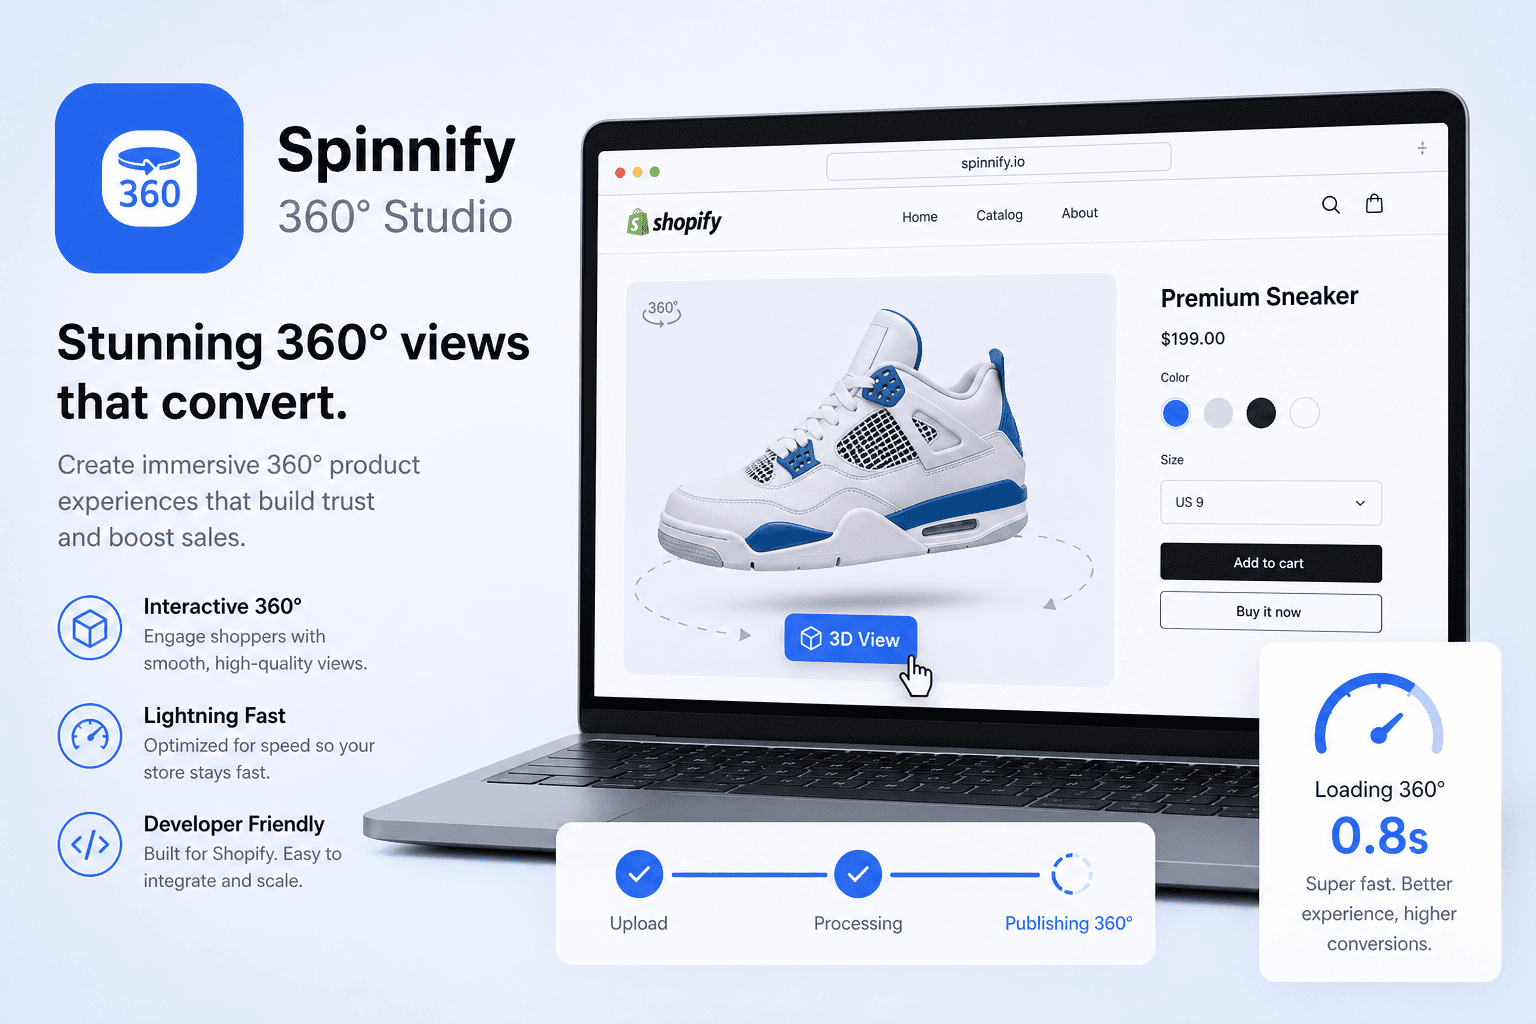
A 360 product view on Shopify is an interactive spin on the product detail page (PDP): the shopper drags left or right to inspect the real item from many angles. It is not a heavy 3D mesh or a video file hosted in Shopify. Spinnify serves optimized WebP/AVIF frames from its CDN when someone taps **3D View**—the same lightweight flipbook pattern used on custom HTML storefronts.
Shopify product image size (and where 360° fits)
Queries like “shopify product image size” are popular because merchants want crisp stills before they add anything interactive. Shopify recommends square product images around 2048 × 2048 px for the main gallery; keep file weight reasonable. Your 360° sequence lives in Spinnify—not as dozens of extra gallery slots—so you do not fight Shopify’s image limit per product.
- Main gallery stills: up to 2048 × 2048 px square (Shopify guideline).
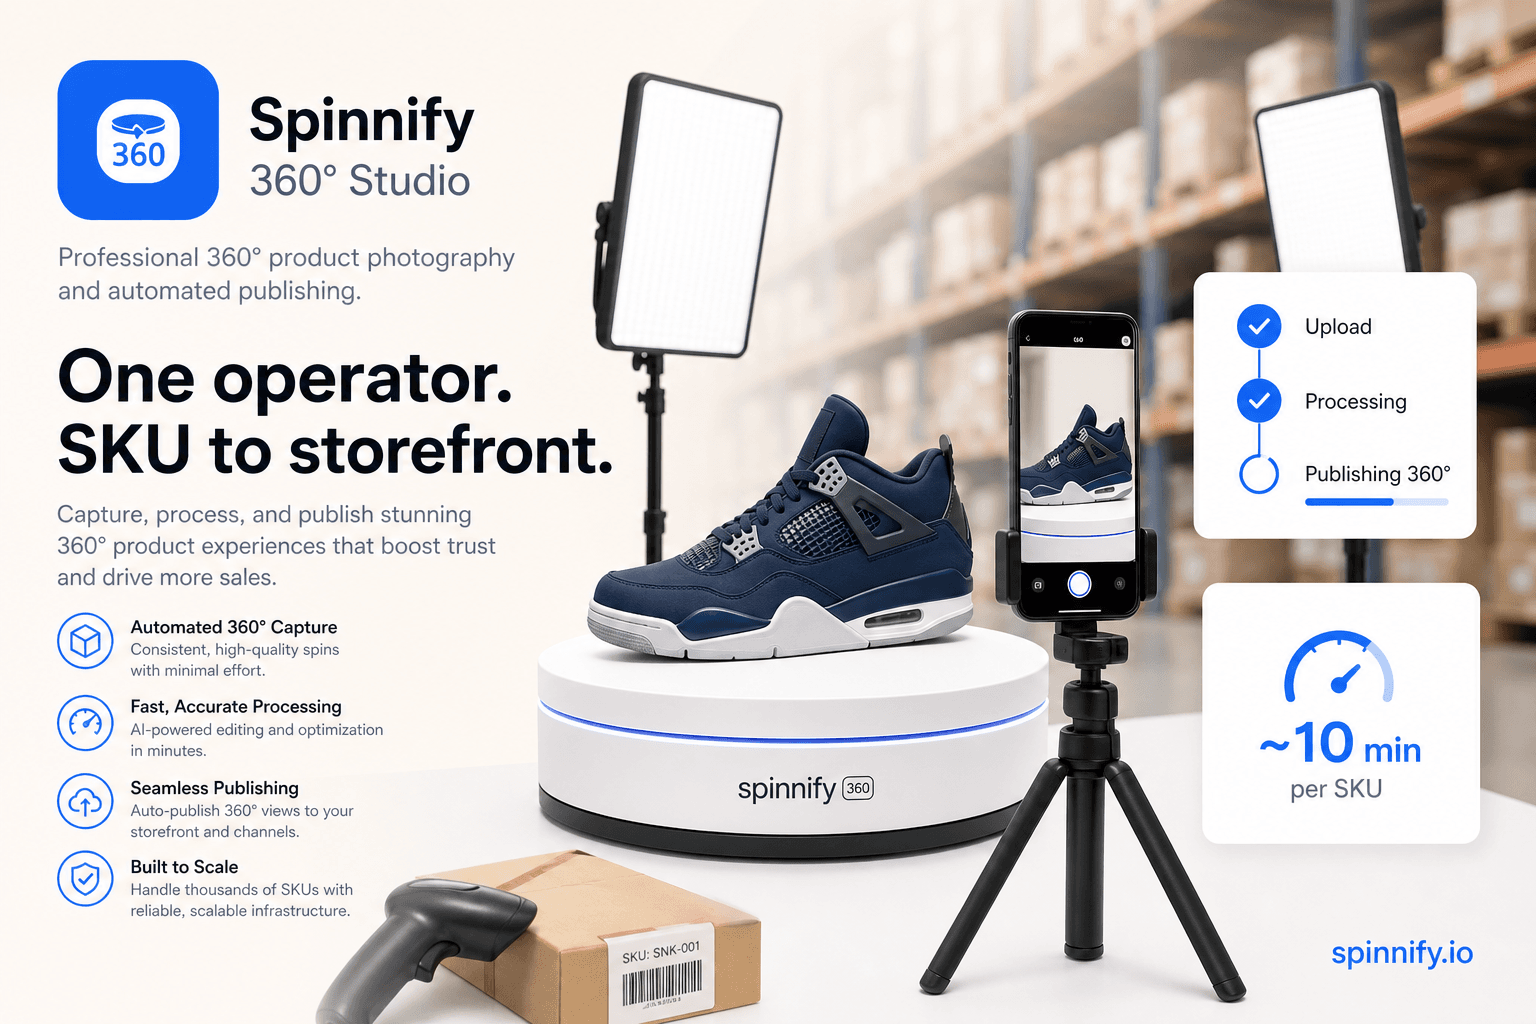
- Spinnify capture: 4:3 landscape series (up to 36 frames) from Studio or the mobile app.
- Optional mobile series: 3:4 portrait pass for phone-first shoppers.
- Storefront delivery: CDN-resized WebP/AVIF—no manual resize per frame in Shopify.
Why add 360° before another Shopify app?
Rich spins reduce guesswork on texture, scale, and finish—useful when returns stem from “looked different online.” Industry return rates often sit near 19% in NRF surveys; measure your SKUs after launch. For page-weight concerns, see our Shopify 360° without hurting PageSpeed guide—the widget lazy-loads on interaction.
| Typical 360 Shopify apps | Spinnify 360° Studio | |
|---|---|---|
| Capture | Upload ZIPs or hire a studio | Mobile app + turntable workflow |
| Hosting | Merchant CDN or app servers | Spinnify CDN + Studio |
| Matching | Manual product pickers | SKU / JSON-LD AUTO / URL |
| Billing | Separate app invoice | Shopify App Pricing or SaaS |
| Page weight | Varies | Lazy-loaded 3D control |
Connect Spinnify to Shopify (overview)
The full checklist lives on our public Shopify integration guide. Summary: create a published Studio product whose name matches the Shopify variant SKU (or your chosen match field), install Spinnify 360° Studio on the Shopify App Store, connect the shop in **Dashboard → Settings → Integrations**, choose the match field, and drop the **Spinnify 3D Button** app block on the product template in the theme editor.
Step 1 — Publish the spin in Studio
Sign in to Spinnify Studio. Create a product named exactly like the value Shopify will send—usually the variant SKU. Upload or capture the spin sequence, publish, and keep **Active** enabled. Unpublished or empty products never show **3D View** on the storefront.
Step 2 — Install the Shopify app & connect
In Shopify Admin → Apps, install **Spinnify 360° Studio**. In Spinnify (logged in), open Settings → Integrations → Shopify, enter `your-store.myshopify.com` (not the custom domain), and approve OAuth. Billing can run through Shopify App Pricing after connect—Stripe checkout in Studio is disabled for that account to avoid double billing.
Step 3 — Theme block on the PDP
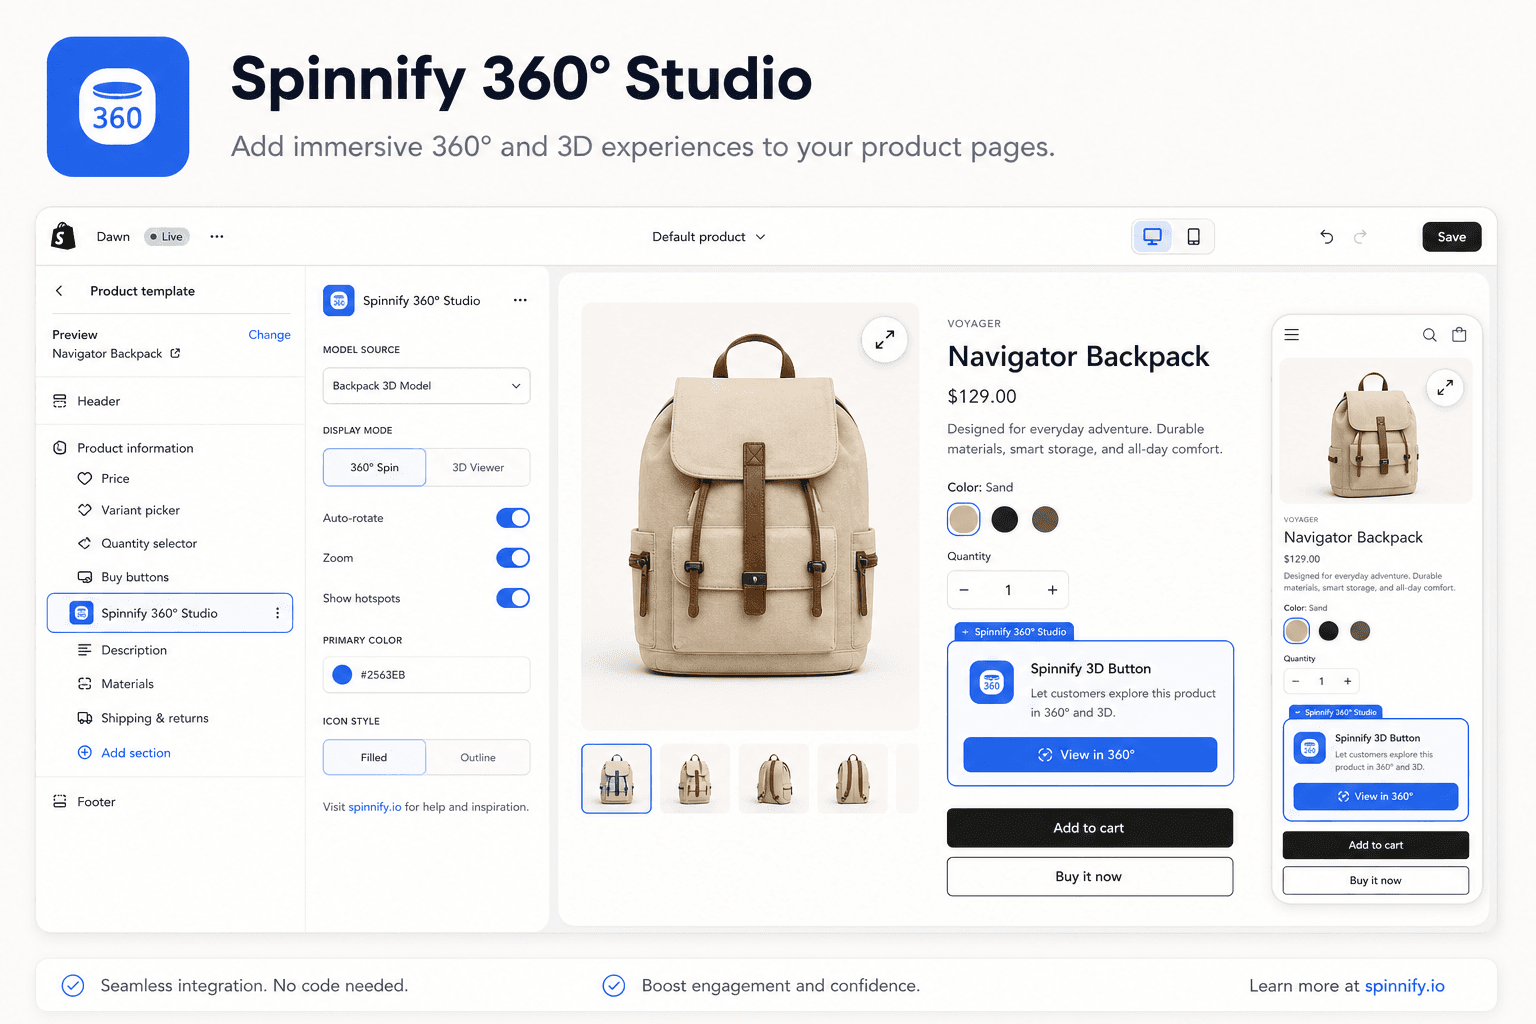
Online Store → Themes → Customize → open a product template → Add block → **Spinnify 3D Button**. Save, then test a live product URL whose match-field value equals a published Studio product name. Theme editor preview alone is not enough—confirm on the storefront.
Mistakes merchants make once
- Studio product name ≠ Shopify SKU — button never appears.
- Product not published or `is_active` off in Studio.
- Testing only in theme preview, not on the live PDP URL.
- Connecting with `www.example.com` instead of `store.myshopify.com`.
- Uploading 360 frames into Shopify Files instead of Spinnify—duplicated workflow.
Conclusion
Adding a 360 product view to Shopify is a matching problem more than a coding problem: publish spins in Studio, connect the store once, align SKUs, add the app block. Start with your hero SKU, verify **3D View** on mobile, then roll the same capture workflow to the rest of the catalog.
Next reads: warehouse 360° workflow, Spinnify vs Sirv, full integration guide.